


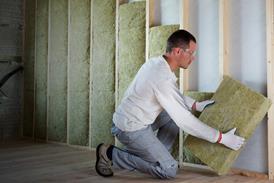


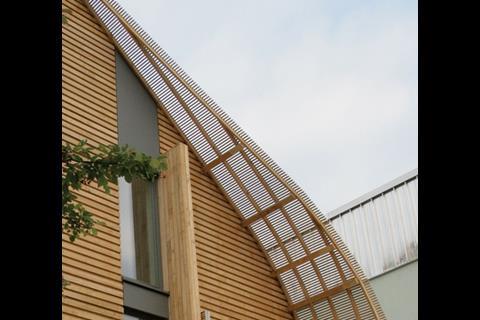
… achieving air-tightness. Peter Capelhorn of Scott Brownrigg guides you through the main points to consider when sealing a home
Air-tightness testing is now a well established part of Building Control measures, but when it comes to meeting the requirements set out in the Code for Sustainable Homes, designers and contractors struggle.
While current Building Regulations require an infiltration level of no more than 10m3 of air per 1m2 of facade (at a differential pressure of 50Pa), level five of the Code for Sustainable Homes requires less than 2m3/m2 and level six looks for 1m3/m2.
Here, Peter Caplehorn summarises the five steps to ensuring you achieve these targets:
1. Design
From the start of the detailed design stage, the position of the air seal line must be established for every part of the structure. This should be clearly marked on drawings to ensure the whole team is aware of where it will lie and work towards this. This should be included in early sketches and considered with the same importance as basic weather proofing and vapour control.
The effect of external exposure needs to be taken into account, too, as buildings in very exposed locations will be subject to high wind pressures and need to be designed to an even higher standard to achieve the same performance. The stack effect also means air sealing is most important in the upper levels of a building.
2. Dampproof membrane
Having identified the position of the air seal and developed the detailing, the materials and their assembly must be considered.
The floor and lower levels will already have a damp proof membrane. This must be checked to make sure it forms a consistent barrier. Masonry should include two coats of sealer over the general areas and junctions to other materials require sealant. The specification should make it clear that no cavities in mortar beds are acceptable.
Timber-frame construction will already include a vapour control membrane. This can be used as the air seal membrane but must be specified as such. In the roof, a membrane will commonly be the way to ensure all joints are lapped and sealed with good quality tape, which can act as the vapour control layer.
3. Junctions
Junctions can cause problems, particularly between walls and roofs, and around windows and doors. It may be difficult to perfectly cut and seal a membrane on site, so a combination of mechanical and chemically bound seals that allow for workmanship errors should be specified.
Any sealant applications should have a “seat”, for example a groove in a door or window frame, which makes the process more straightforward. The combination of chemical bond and mechanical fixing is best. A backing to the sealant should always be specified when bridging between two components – much reliance is often made on just the chemical bond.
Also, ensure adhesion is available, as many plastic connectors do not adhere to common sealants. Using products from the same maker normally ensures compatibility. Thermal stresses may weaken seals and designs should allow for movement, preferably so the sealant is never in shear. Care should be taken when using materials of high thermal expansion, such as plastic and aluminium, next to low expansion materials like concrete and masonry.
4. Doors and windows
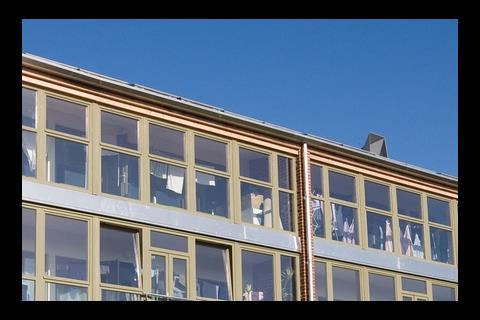
The current generation of doors and windows are struggling to meet the levels of seal required, so look for ones with low leakage performance tested to EN42 found in BS 6375 Part 1.
The BFRC has established a performance standard L50 and uses this to rate products under the Fensa scheme. Windows with a poor performance can have a significant effect on the overall air leakage and so consider specifying only class A or B products. Good standards are also required around door and window junctions using three seals – inner, outer and mid section.
Tolerances of components should be specified so they fit together without leaving excessive gaps that are too big for sealants to fill. Sealants generally will not work effectively bridging more than 10mm and then must be over square in section.
5. Installation and testing
Buildings often struggle to achieve more rigorous levels of performance owing to poor assembly. It is important for the contractor to clearly know the level of performance expected. This should be discussed before work starts on site. Quality monitoring requires constant vigilance to ensure everything is assembled correctly. Testing will identify the performance and if any corrective measures are required, this should be done before final finishes are installed, if possible.
Testing carried out by organisations such as BISRIA will cost in the order of £250 per dwelling and take about 30 minutes. Pre-testing advice is available and for complex situations on site reviews may be necessary and help to ensure the desired result. Of course, there is a risk of failure in which case retesting will be necessary. The building will need to be prepared to ensure all vents are sealed to allow the building to be pressurised and this should be allowed for in the overall programme; but booking months in advance is not necessary.


No comments yet